Skip to main content
Search
Search This Blog
Cooking Books
Posts
Showing posts from June, 2009
Show all
June 30, 2009
Arugula-Mint Salad with Apricots and Cumin
June 26, 2009
Schwäbischer Rostbraten, or Pan-Fried Steak with Onions, Swabian-Style
June 25, 2009
Strawberry-Vanilla Bean Ice Cream: Guest Post
June 24, 2009
German Spätzle for a Myriad of Uses
June 23, 2009
Greens with Ham, Orange and Mint
June 19, 2009
This is My Wedding Cake. I Made It.
June 19, 2009
Terrine of Greens, Bacon and Polenta
June 18, 2009
Norwegian Everyday Waffles
June 14, 2009
Retro-Chic Bran Muffins
June 12, 2009
Sausages Cooked with Onions and Peppers over Creamy Parmesan Polenta
June 10, 2009
Sweet Irish Soda Bread (Spotted Dick or Spotted Dog)
June 06, 2009
Sauteed Fiddlehead Ferns with Parmesan Cheese
June 05, 2009
Coco-Nana Bread
June 04, 2009
Oven-Braised Leeks with Cream
June 03, 2009
Strawberry Shortcakes
June 01, 2009
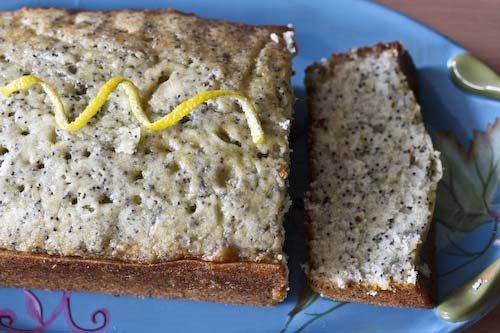
Lemon-Poppy Seed Bread
June 01, 2009
Two Truly Great Sandwiches
Newer Posts
Older Posts
Home