This is My Wedding Cake. I Made It.


Tips for Making a Wedding Cake
The first thing was to make the cake itself. I chose a chocolate cake with chocolate buttercream which I had made several times before. No reason, I figured, to try something new when I was already trying everything new. I tripled the Chocolate Cake with Chocolate Buttercream recipe from Magnolia, which ended up being enough to fill two 10" layers, as well as two 6" layers. I had far too much buttercream left over after tripling the recipe, but found that it was sinfully delicious spread on the loaves of banana bread my mother placed in all of our guests' rooms.
We were married in Breckenridge, CO, a ski town to which my family has been going since the beginning, although my parents live in Denver. So I made the cake layers in my mother's kitchen, then triple wrapped them in cellophane and froze them for the trip up.

When you're baking layers as large as 10", it's helpful to use a wonderful little invention called Magi-Cake Strips. Basically, they're strips of material which you run under cold water and then pin to the outside of your cake tins as they bake. Normally, the edges of the cake bake faster than the middle, which causes the cake layer to dome. Something that can be a real pain if you plan on stacking tiers. Water-saturated Magi-Cake Strips slow the baking of the edges, and prevent this doming. Score.
To transport the layers, I kept them frozen and wrapped, and set them on cardboard rounds slightly larger than the layers themselves. Once in the mountains, it was time to get to work. The first thing was to split the layers so they could be filled with buttercream. For this, and for most later steps for that matter, a rotating cake stand is pretty much indispensable. The easiest way I've found to split layers is to hold a serrated knife perpendicular to the cake layer and, keeping the knife still and steady, spin the cake stand slowly making a light line in the side of the cake which should be straight and even. Then, use the serrated knife to cut straight through the cake, following that same line. Once this is done, the bottom layer should be placed on a cardboard round which is cut to the exact same size as the cake layer.

You can use a dollop of buttercream on the cardboard to act as glue so that the cake layer stays in place. Then spread buttercream between each of the layers, and stack them one on top of the other.

Next, use an offset spatula to frost the entire outside of the cake tier. Try to get it as smooth as possible. The buttercream is, first and foremost, the tasty part. But it also acts as a glue to keep the fondant attached. As a side note, you wouldn't want to use a cream-cheese based frosting under the fondant because it would likely go bad. So buttercream is your best bet.

Next, for the fondant. Make a mixture of about equal parts powdered sugar and corn starch and use it to prevent the fondant from sticking to the counter and to your rolling pin as you roll it out. For specifics about how much fondant to use based on the size of your cake layer, see this chart from Wilton. Roll the fondant out so that it is quite a bit larger than the size of your cake. It should be at about a thickness of 1/4".

Carefully (seriously, be careful) drape the fondant over your cake, which should still be resting on your rotating cake stand. The fondant should drape down around the cake, hanging over the edge. Start at the top of your cake, and begin to smooth the fondant, sealing it onto the top of the cake. You can use your fondant smoothing paddle for this. Then, using cupped hands, smooth the fondant over the top edges of the cake, and, turning the cake stand, smooth around the edges. You can switch back to your paddle again so get a really smooth finish (although my finish wasn't perfect, there were lumps etc. But whatever).

Smooth down to the bottom of the cake, and push down gently, making a kind of light crease at the bottom where the cake meets the stand. Now, using a pizza cutter, cut off the excess fondant from around the cake tier. Carefully slide your cake tier off of the stand and repeat the process on the next tier. Once both tiers are covered, transfer your base tier to the display stand you plan on using.

Now it's stacking time. Cake, as it turns out, is not that sturdy of a building material. And even on a relatively small cake like mine, the bottom tier needs a little help supporting the top tier. So you have to stick wooden dowels down through your bottom tier to do the supporting. So, using an extra cardboard round that is cut to the size of your smallest tier (in this case, a 6" round) place it on the center of the largest tier. Using an exacto knife, lightly trace a circle around the cardboard to serve as your guide. Remove the cardboard, and, again using an exacto knife, cut away a bit of fondant on the top of the cake, just large enough for one of your wooden dowels to fit into (you can buy these dowels at a good cake supply store). Now, shove your dowel down into your cake, and mark the exact spot where the dowel is flush with the top of your cake. Remove the dowel. Repeat with about 4 more dowels, placing them in a circle, with one or two perhaps in the center. Now cut each of your dowels at the point you marked, and put them back into the cake. Okay, now your smallest tier should already be resting on a cardboard round which is cut to the exact same size. So now all you have to do is place (carefully!) the smaller tier on the dowels and you're done! Well, with that part, anyway.

The fun part, at least for me, was the decorating. I bought some edible food coloring in powder form and mixed it with lemon extract until it was roughly the consistency of paint. Then, using an artist's paintbrush from the craft store (a new one, of course) I painted my design around the top. I used a real brown ribbon to hide any mistakes around the bottom, and secured it with a small drop of glue, that was only on the ribbon, not on the cake. Top with fresh flowers, perhaps.

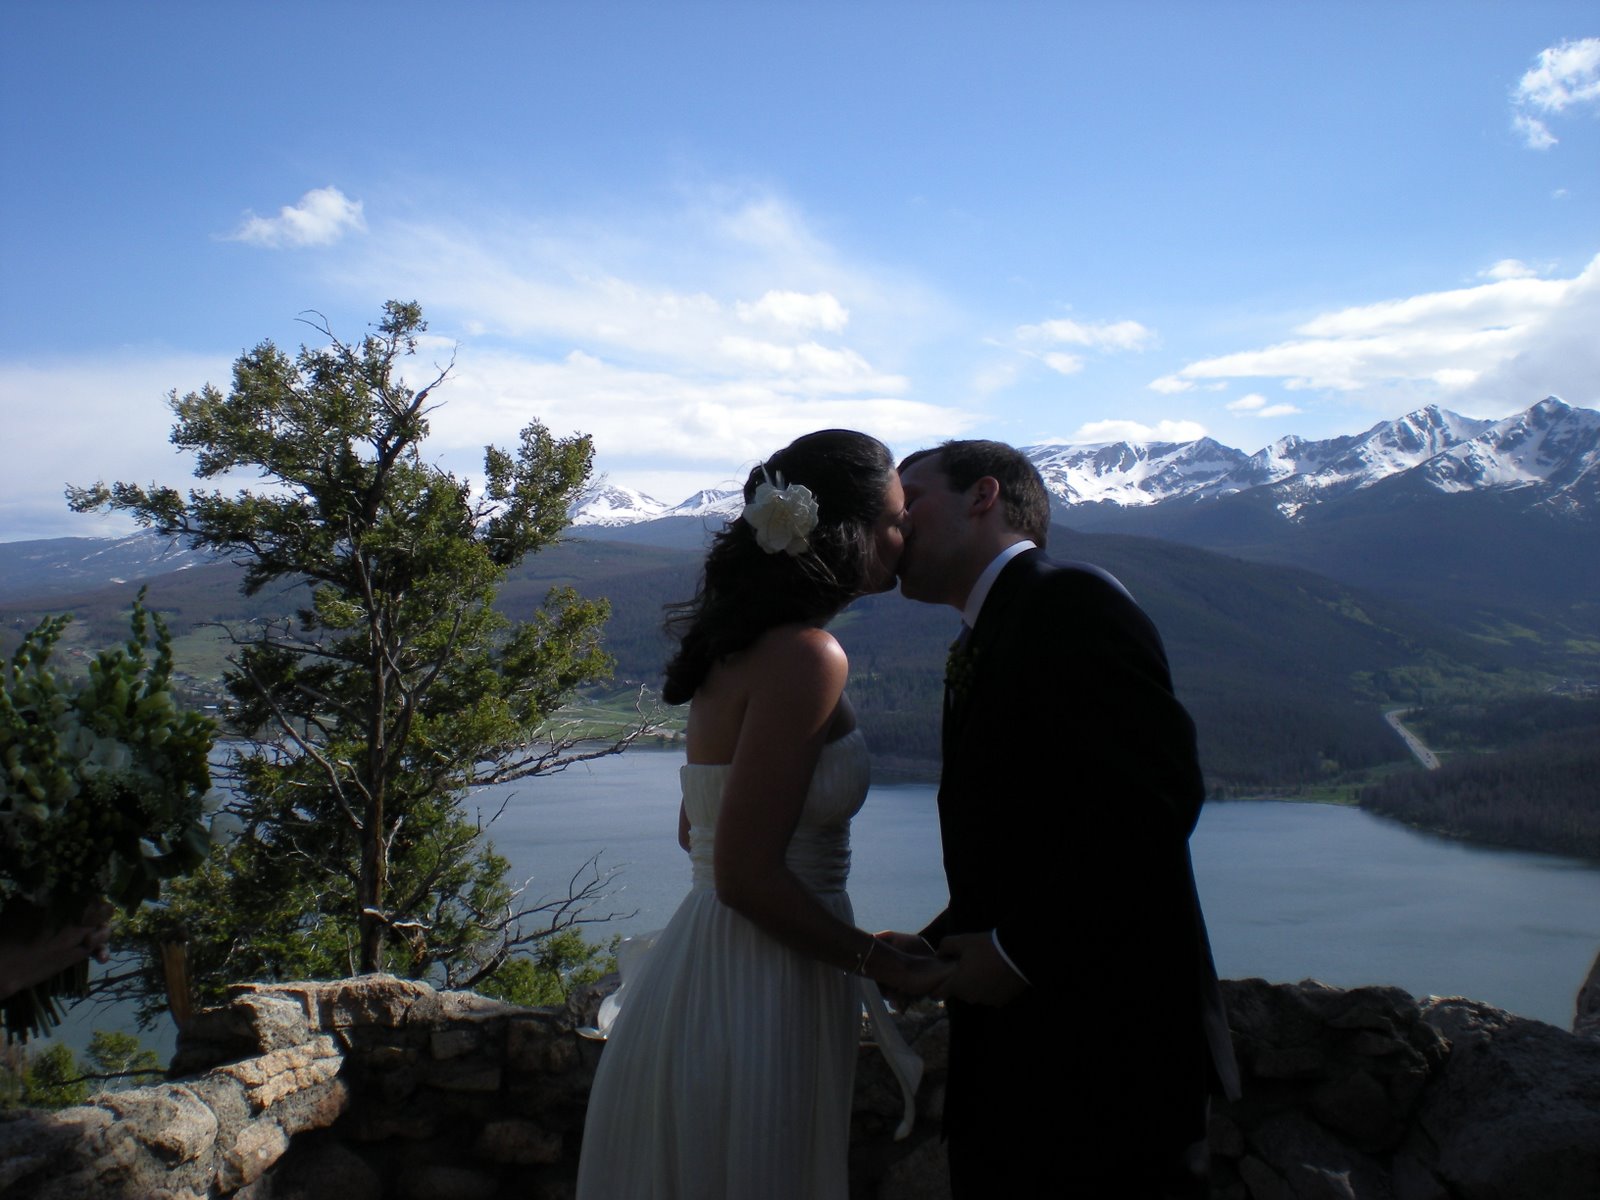
And there you have it! Your own little wedding cake. We were married on an overlook called Sapphire Point, high up in the Colorado mountains, with 25 guests and a whole lot of wind. We don't have many of our pictures yet, but I suppose I can share one...
By the way, I didn't take those photos of the finished cake. That was our photographer, Gary Soles, who is a truly amazing landscape photographer in Breck. If you don't check his work out here, you'll be missing out on some of the most beautiful photos I've ever seen.
UPDATE: want the recipe for that luscious chocolate cake? I've posted it in the form of cup cakes. But be reminded that the recipe was tripled for the wedding cake.
UPDATE: want the recipe for that luscious chocolate cake? I've posted it in the form of cup cakes. But be reminded that the recipe was tripled for the wedding cake.


Comments
- Jackie
Congratulation to both of you, I heard it was a beutiful wedding (I wish I could be there!). I'm looking forward to se some more photos :-)
Beautiful cake, I'm so impressed!
Ingunn
About the cake, I am speechless. You did a magnificent and really brave job. Congrats!
That cake is beautiful.
-Aaron B
I'm so proud of you for having done this! I fantasize with making my own cake, but I'm intimidated by the amount of work.
Thanks for sharing you recipes, technique and step-by-step process. And for the photos!!
Looks like you had a glorious day and I'm very happy for you :)
That's just beautiful. You did an amazing job. Congratulations! (On the lovely cake and the big day!)
Also, I'm envious of your wedding setting. There's no place more beautiful in the world than the Colorado Rockies.
Congratulations again!
I hope your marriage is every bit as beautiful.
I made my friends' wedding cake last summer and it was my first wedding cake. I learned a lot!!! Check it out here: http://hanaaskitchen.blogspot.com/2009/06/my-very-first-wedding-cake.html.
Next week I'm making my friend's son a bday cake and I'm planning on using fondant which is how i landed on your blog. Looking for tutorials and such because i never used fondant before. Should be fun experimenting with it this wknd.
I made my own wedding cake.. using my grandmother's pound cake recipe and buttercream frosting. I used fresh edible flowers to decorate it.
I've never tried to make fondant... you inspired me to try it!
Guest Blogger
Guest Blogging Site
Guest Blogging Website
Guest Posting Site
pagedmedia.org
polimi.it